Grant permission from Facebook for using the One-time notification
Step 1: Go to your Facebook page > Meta Business Suite > All Tools > Page settings > New Pages experience > Advanced messaging.
Step 2: Scroll down to the section Requested features – >One-time notification and click the button ‘Edit‘.
Step 3: Click the button ‘Confirm‘ and your request will be submitted to Facebook for review.
Please follow the Facebook policy to use the One-time notification.
1) Don’t confuse, deceive, defraud, mislead, spam or surprise anyone. Make sure that there is a clear and obvious relationship between the prompt, and the content of the message. The content of the one-time notification request and the message must comply with community standards.
2) Pages that receive high volumes of negative user feedback, or that confuse, deceive, defraud, mislead, or negatively surprise users will lose access to the API.
3) Understand the OTN Restrictions & Limitations.
Enable the Waitlist in Boxify system
Step 1: Go to SETTINGS > PARAMETERS.
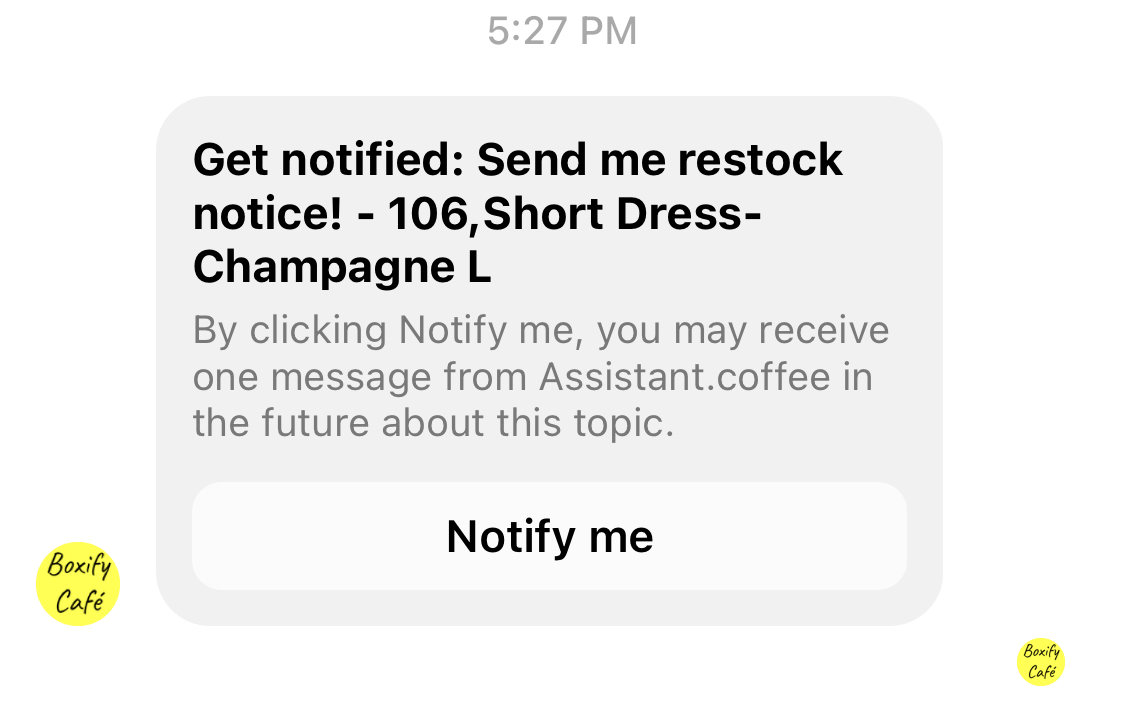
Step 2: Scroll down to the section of Waitlists. Tick the check box to enable the waitlist, and write the restock message which will be sent to the customers’ messenger.