
Waitlists (Backorder)
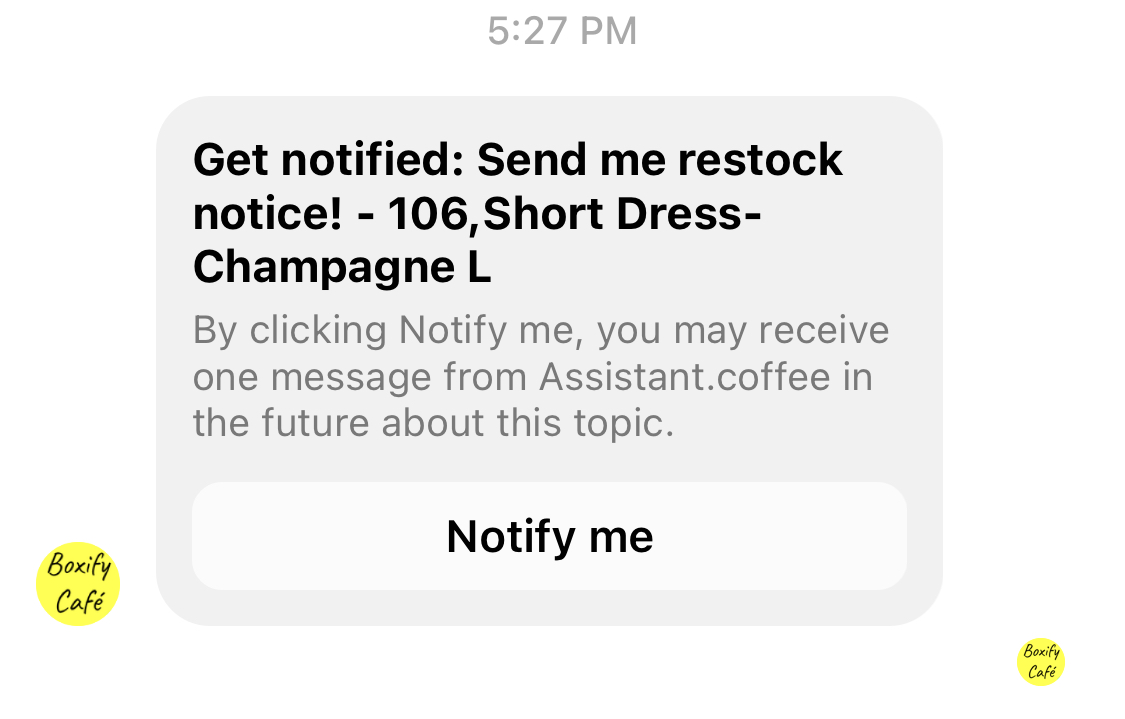
Waitlists let you collect customers who want an out-of-stock or unreleased product, then notify them and create orders for them when stock arrives.
Turn on Waitlists
Section titled “Turn on Waitlists”- Go to Settings › General › Parameters.
- Find the Waitlists section in the left column.
- Tick Enable Waitlists.
- Fill in Waitlist message title. This is a short label only — maximum 25 characters.
How many waitlist entries you can hold
Section titled “How many waitlist entries you can hold”| Plan | Maximum waitlist entries |
|---|---|
| Enterprise | Unlimited |
| Business | 200 |
| Other plans | 50 |
Write the notification message
Section titled “Write the notification message”The message customers receive is a Facebook Utility Message template, so it can reach customers who have not messaged you in the last 24 hours.
- Go to Settings › Messaging › FB Utility Messages Templates.
- Select the Waitlist message type.
- Write your message and submit it for Facebook approval.
You can use {{customerName}} and {{waitlistKeyword}} in the template, and optionally add an Order now button that takes the customer straight to the product.
See Facebook Utility Messages for the full walkthrough.
How customers join a waitlist
Section titled “How customers join a waitlist”Step 1 — Allow backorder on the keyword
Section titled “Step 1 — Allow backorder on the keyword”- Open the keyword for the product.
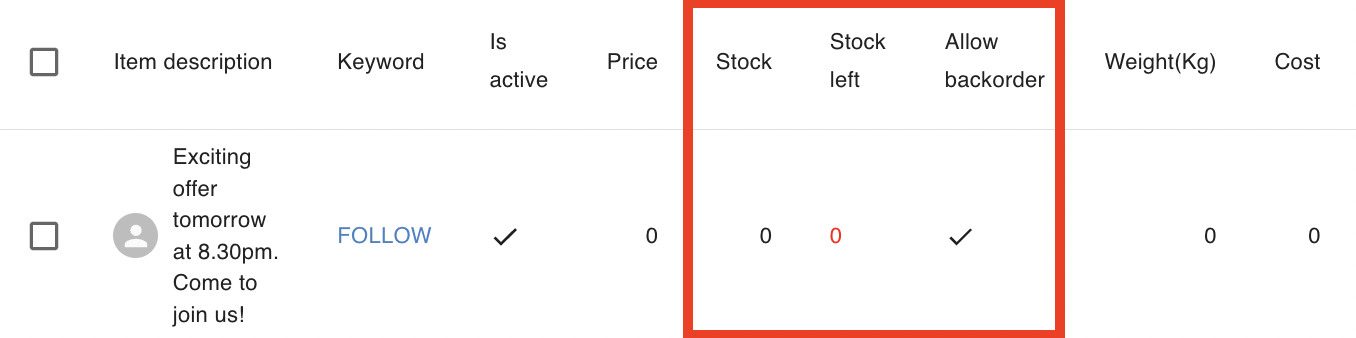
- Tick Allow Backorder.
This lets customers order even when stock is zero.
Step 2 — The customer orders an out-of-stock item
Section titled “Step 2 — The customer orders an out-of-stock item”When a customer orders an item that has no stock left:
- The system tells the customer the product is out of stock.
- The customer is added to the Waitlist automatically.
No action is needed from you at this stage.
Step 3 — View the waitlist
Section titled “Step 3 — View the waitlist”Go to Others › Waitlists to see everyone waiting, along with the keyword and quantity they asked for.
Notify customers when stock arrives
Section titled “Notify customers when stock arrives”Notifications are not sent automatically when you restock. You choose when to send them.
-
Go to Others › Waitlists.
-
Tick the customers waiting for the restocked product.
-
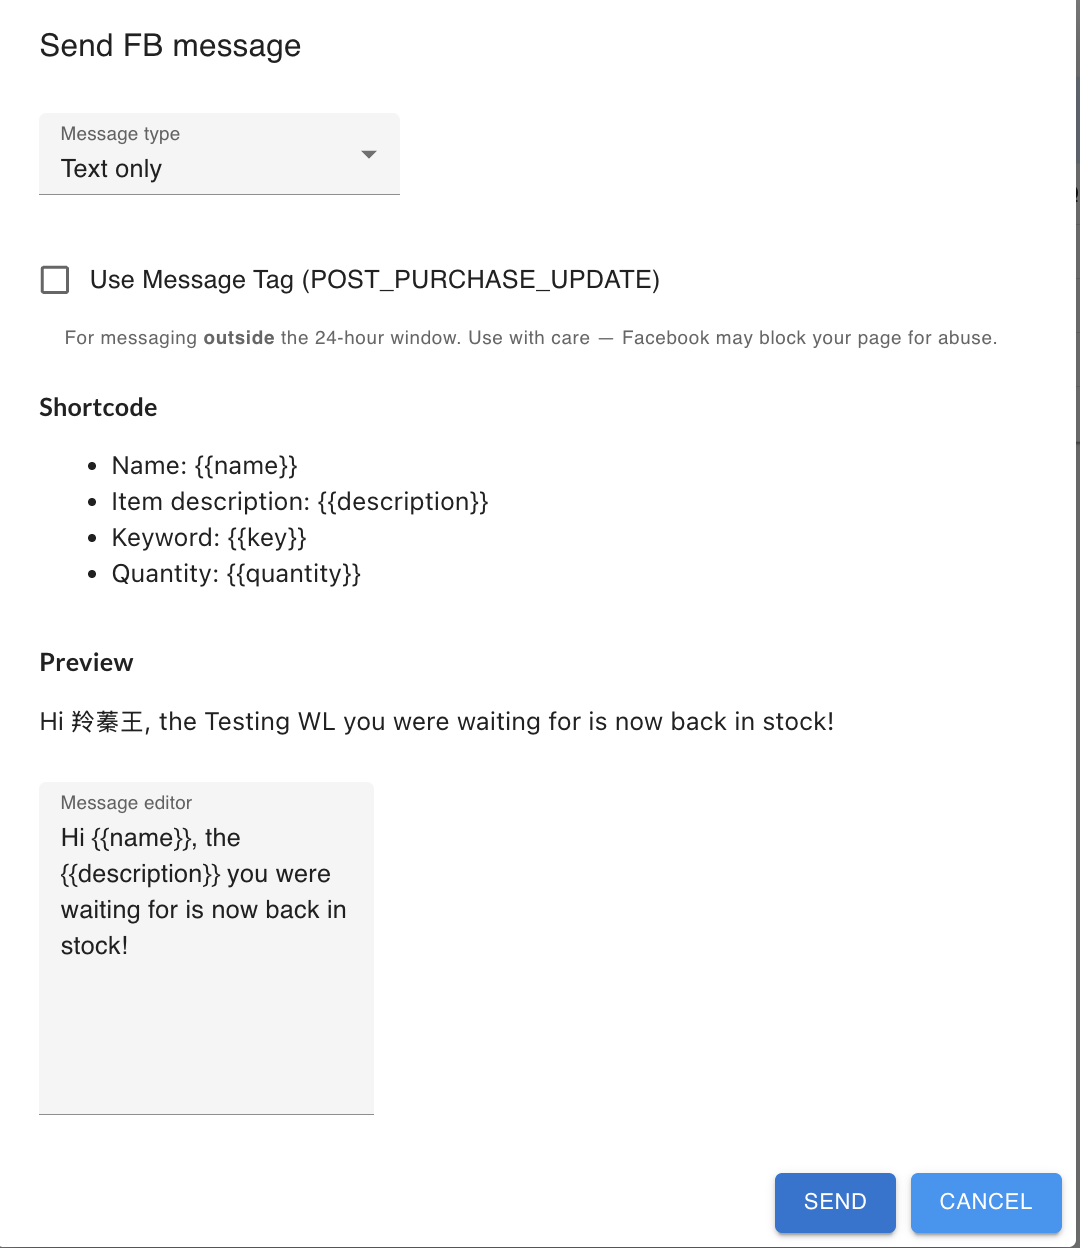
Click FB in the bulk actions toolbar that appears.

-
In the Send FB waitlist follow-up dialog, turn on Use custom keyword if you want the message to point at a different keyword.
-
Click Send.
Convert waitlist entries into orders
Section titled “Convert waitlist entries into orders”Instead of waiting for customers to order again, you can create the orders yourself.
- Go to Others › Waitlists and tick the customers you want.
- Click Convert in the bulk actions toolbar.
- Choose how the keyword should be applied (see below).
- Click Start.
This is useful during live selling or when releasing limited stock quickly.
Option 1 — Waitlist
Section titled “Option 1 — Waitlist”Use the original keyword that created the waitlist entry.
Use this when:
- The restocked item is exactly the same.
- You want to keep the original product setup.
- Pricing and configuration have not changed.
Option 2 — Manual Assign
Section titled “Option 2 — Manual Assign”Pick a different keyword for the order, then type it in the Keyword field.
Use this when:
- The item has a new keyword.
- The original keyword is inactive.
- You want to change the price or stock source.
Before you convert
Section titled “Before you convert”Make sure:
- The keyword is active.
- There is enough stock available.
- Quantity limits on the keyword are valid.
How converted orders are treated
Section titled “How converted orders are treated”The system processes a converted waitlist entry the same way it processes a comment order. All keyword rules apply, including stock validation and quantity limits.
See also: