Shopping Cart Settings
This article explains each shopping cart setting in Boxify and when to use it.
These settings control how your cart works for customers — from checkout behaviour to webstore display. Only turn on the options that match how your business runs.
1. Enable Shopping Cart
Section titled “1. Enable Shopping Cart”Turns on the Boxify shopping cart so customers can check out via cart.
When turned on, customers can add items to their cart before checkout. Without this, customers cannot compile a cart.
Turn this on for normal online selling.
2. Enable Customer Cancel Items in Cart
Section titled “2. Enable Customer Cancel Items in Cart”Lets customers remove items from their cart before checkout.
When turned on, customers can delete items, then re-order with the correct quantity.
3. Disable Customer Special Notes
Section titled “3. Disable Customer Special Notes”Hides the Special Notes field from customers during checkout.
When turned on, customers cannot leave order notes.

Turn this on if you do not need custom messages from customers.
4. Enable Web Store
Section titled “4. Enable Web Store”Activates your Boxify webstore so customers can browse and order via a web link.
When turned on, your order pages, cart, and product catalogue are accessible via a web link. Webstore orders and Facebook Live orders share the same cart for checkout.
5. Enable Display of Out-of-Stock Products in Webstore
Section titled “5. Enable Display of Out-of-Stock Products in Webstore”Shows out-of-stock products in your webstore even when they cannot be ordered.
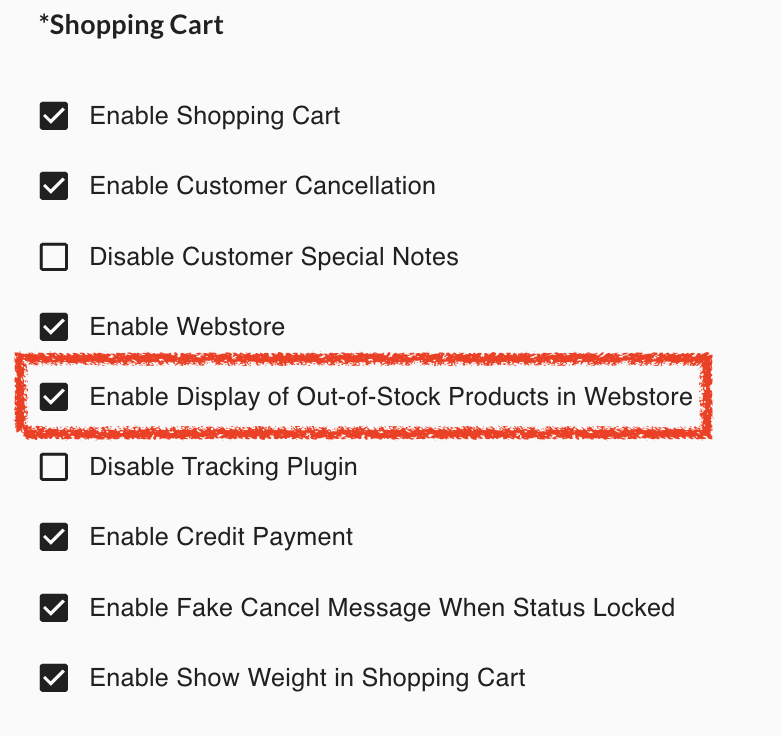
When turned on, customers can see out-of-stock items in the webstore. They cannot order those items — the setting only controls visibility.
Turn this on if you want customers to see upcoming products or your full catalogue.
6. Disable Tracking Plugin
Section titled “6. Disable Tracking Plugin”Turns off the tracking plugin for the shopping cart.
![]()
When turned on, click and referral tracking inside the cart is disabled. Some tracking or remarketing features may stop working.

Turn this on if the tracking integration is causing problems.
7. Enable Credit Payment
Section titled “7. Enable Credit Payment”Lets customers use their store credit balance to pay during checkout.
Store credit is a balance the merchant assigns to a customer. Customers can apply credit at checkout to reduce the amount they need to pay.
8. Enable Fake Cancel Message When Status Locked
Section titled “8. Enable Fake Cancel Message When Status Locked”Shows customers a fake cancellation message when their order is in Locked status.
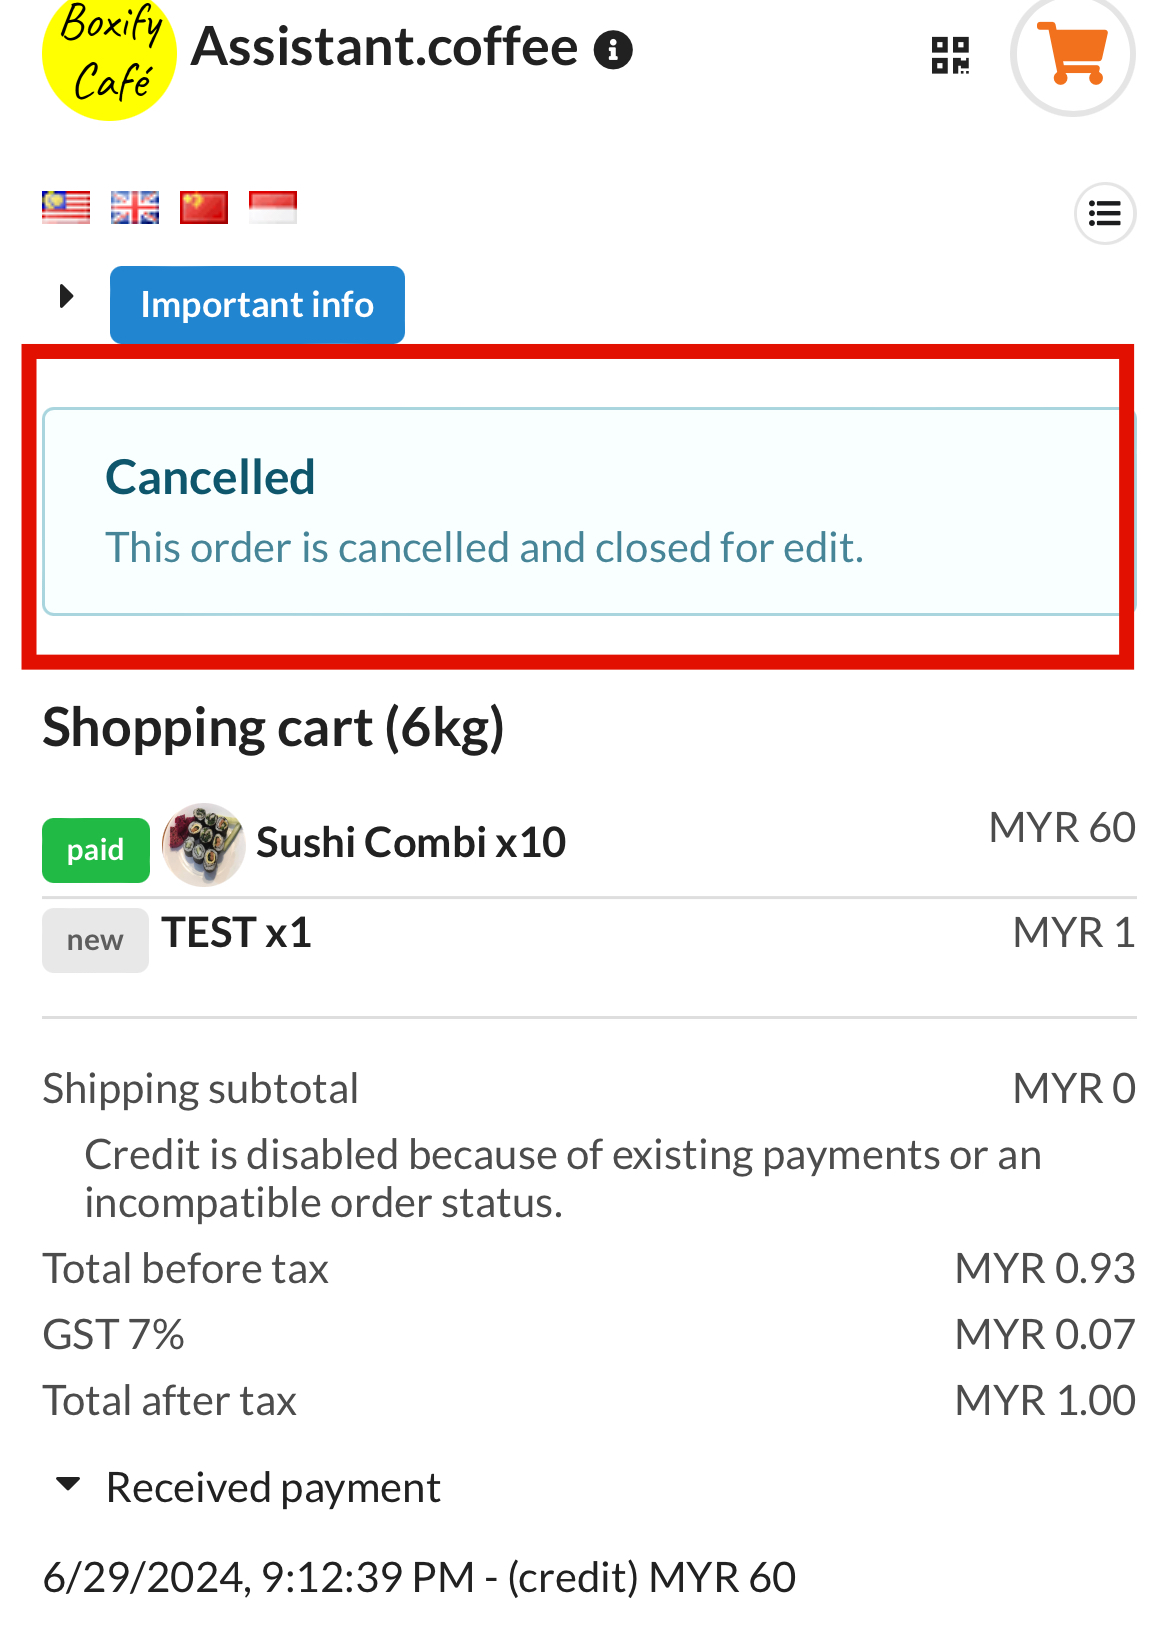
Turn this on to reduce customer queries about locked orders. The message prevents confusion without revealing that the order is locked.
9. Enable Show Weight in Shopping Cart
Section titled “9. Enable Show Weight in Shopping Cart”Displays item weight in the customer’s shopping cart.
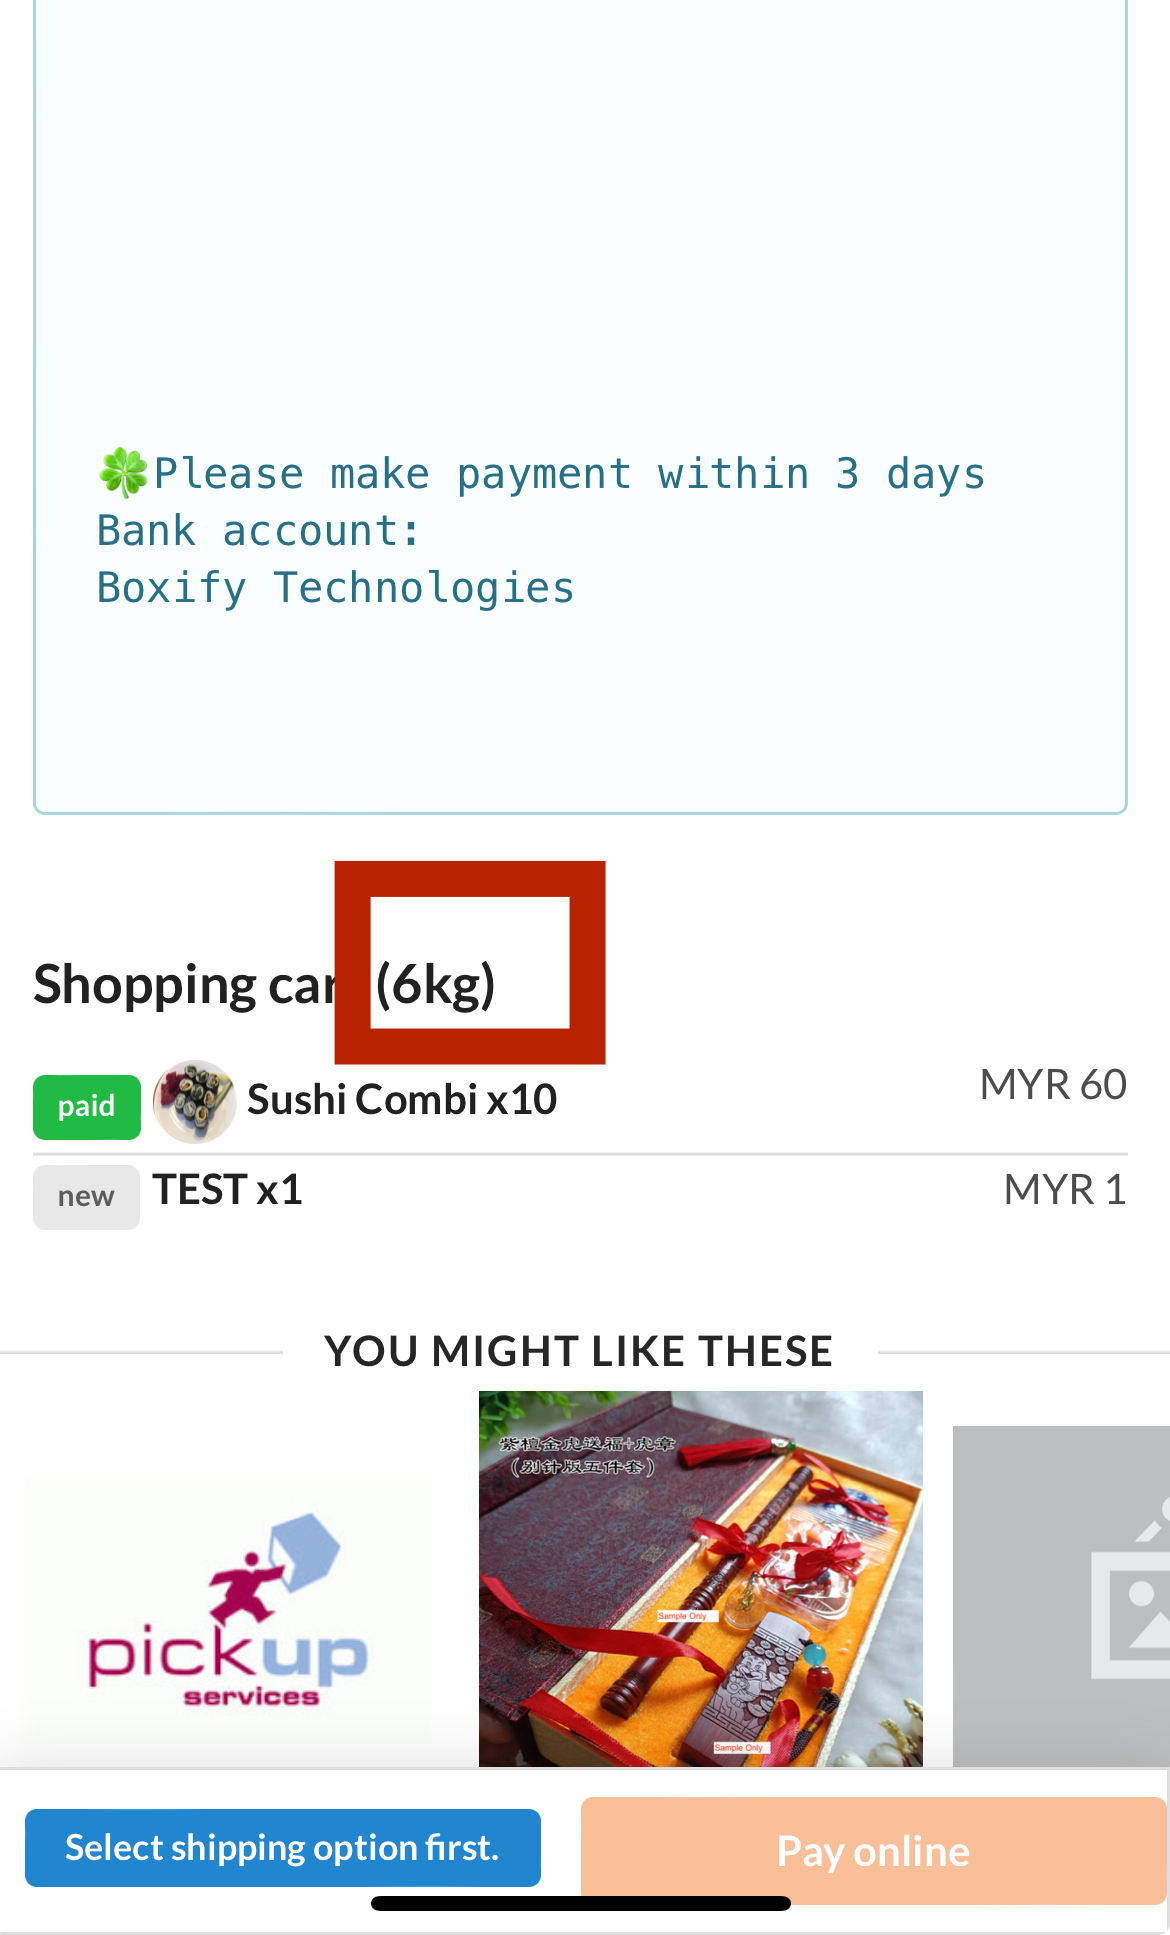
Turn this on if your shipping fees are weight-based and you want customers to see why shipping costs differ (for example, between standard and express delivery).
See also: